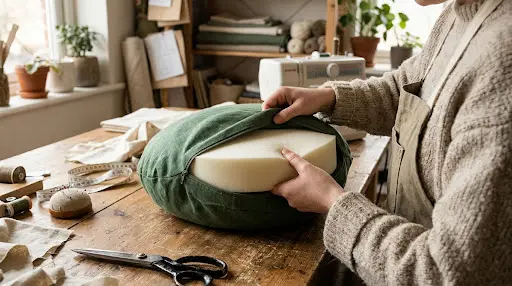
Round cushions serve amazing aesthetic and practical benefits. They add to your home decor and seating arrangements while protecting the cushion pad from everyday dust, spills, pet hair, and general wear. At Dubai Cushions, we are going to guide you step-by-step on how you can cover round cushions in 5 simple steps.
Which Type of Round Cushion Does This Guide Cover?
Before starting, it is important to understand that this method is designed for flat, pillow-style round cushions. These cushions have two flat circular surfaces joined around the edges.
Boxed cushions, on the other hand, have a separate side panel or wall between the top and bottom pieces. They require additional measurements and a different sewing technique. If you have this type of cushion, read our separate guide on how to make a boxed cushion cover.
Time, Cost, and Difficulty
Covering a round cushion is a beginner-friendly DIY project. You can usually complete it within 1–2 hours, depending on your sewing experience and the type of closure you select. The approximate material cost is 10–25, depending on the fabric, zipper, and other supplies.
The Step-Wise Approach To Covering Round Cushions With Fabric
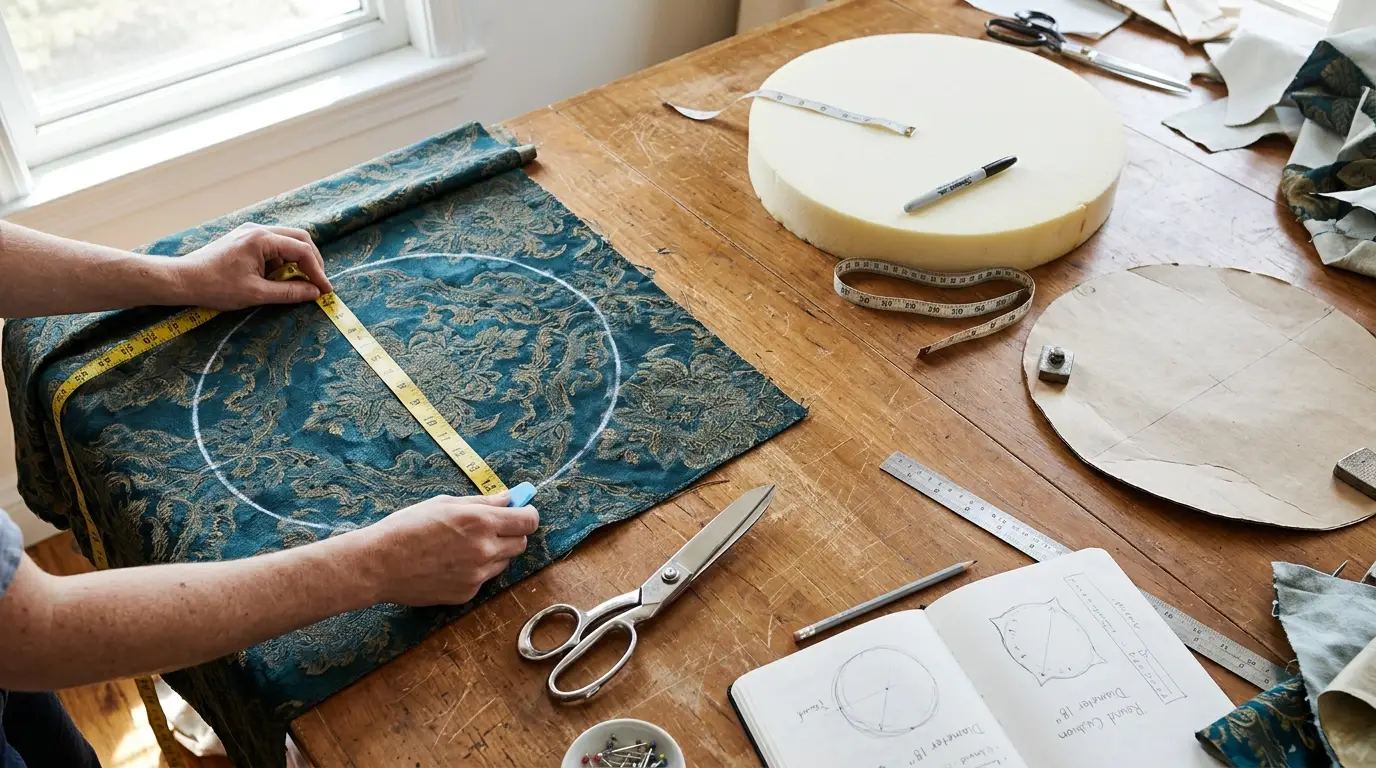
We have described this process in detail and have divided it into simple and easy-to-understand steps so that there is no confusion. Just follow for guidance!
What will You Need this
- Fabric (about 1 yard)
- Cushion Pad
- Coordinating Thread
- Fabric Scissors
- Straight pins or Fabric Clips
- Sewing machine/Needle & Thread
- Iron and Ironing Board
- Erasable Fabric Marker
- Measuring Tape
- Optional Zipper
How to Choose the Right Fabric
Fabric selection plays an important role in the appearance and durability of your cushion cover. Cotton canvas and duck cloth are suitable for everyday seating because they are strong and hold their shape. Linen blends and upholstery fabrics are also good options, while velvet adds a softer and more luxurious finish.
Avoid thin cotton and slippery satin for high-use seating, as they may wear out quickly or shift during use. For outdoor cushions, select water-resistant and UV-resistant fabrics that can handle sunlight and occasional moisture. Always pre-wash washable fabric before cutting to prevent shrinkage later. If your material has patterns or directional prints, check their alignment before cutting.
1. Measure & Trace The Round Cushion in a Circle
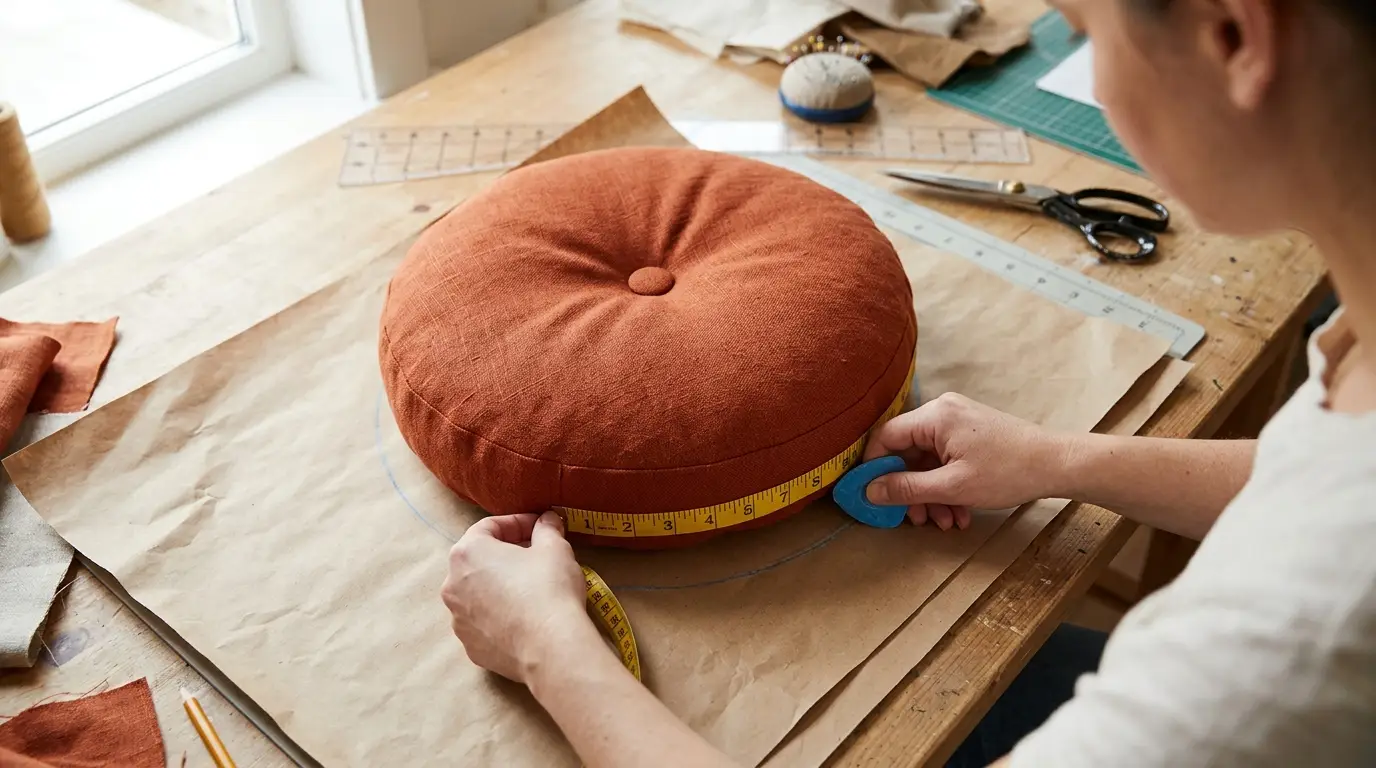
You need to place your round cushion upside down on a piece of paper and take a measuring tape to assess the diameter across the longest path. The measurement should be precise, as it will allow you to cut the fabric precisely. Don’t forget to trace the measurement on paper with a pencil or marker.
For a snug, plump appearance, the finished cover should be around ½–1 inch smaller than the cushion diameter. However, remember to include a seam allowance when preparing your cutting pattern. For a basic ½-inch seam allowance, add approximately 1 inch to the desired finished diameter.
How to Make a Perfect Circle Template
You do not necessarily need to trace the cushion itself. Tie a pencil to one end of a string and secure the other end at the centre of your paper. Keep the string at half the required circle diameter and move the pencil around the centre to draw a perfect circle. You can also fold the fabric into quarters and cut both circular pieces together, provided the fabric is properly aligned.
2. Cut Out The Fabric Pieces Carefully
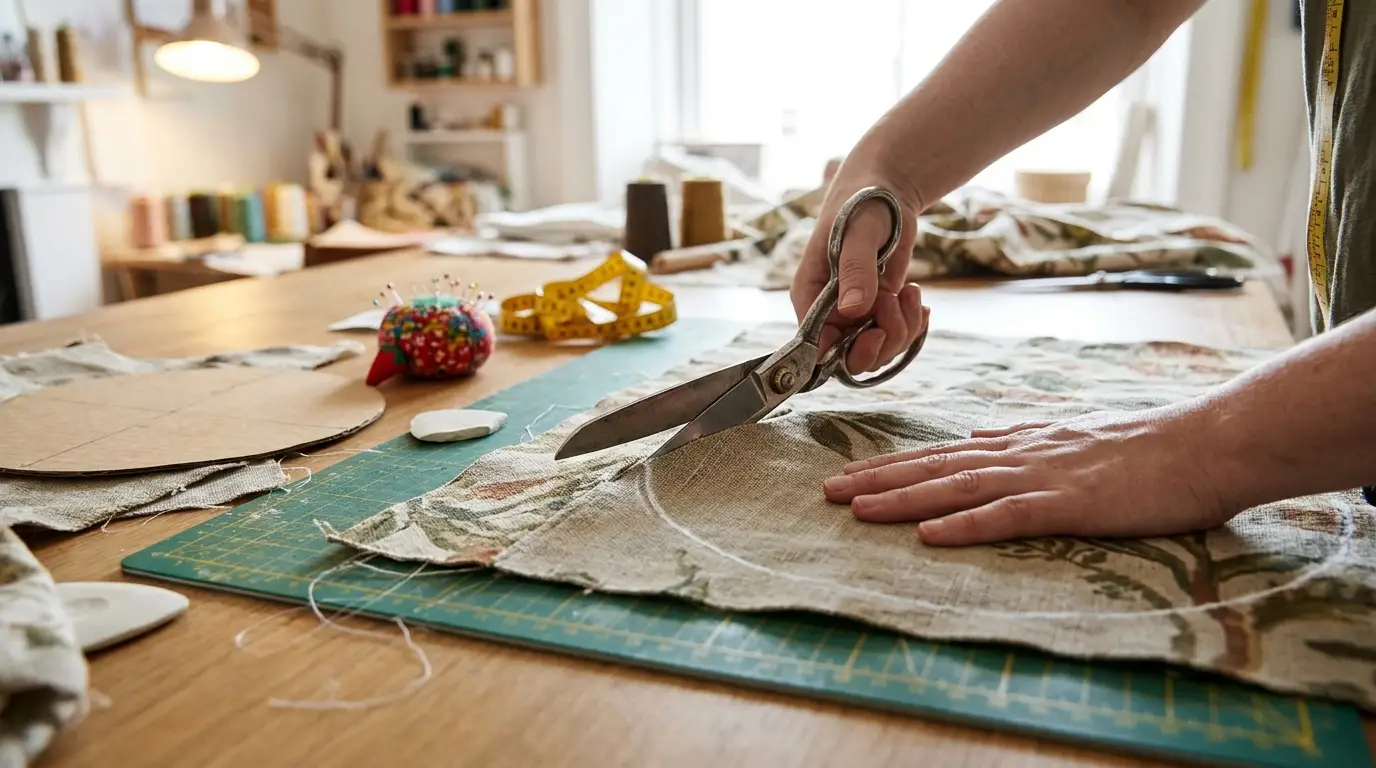
Take scissors and cut two pieces of fabric by placing them against the marked piece of paper. You can add a zipper to one of the fabric pieces by cutting the fabric from the center according to the size of the zipper.
Here is a quick fabric yardage estimate for standard cushion sizes:
| Cushion Diameter | Approximate Fabric Required |
| 12 inches | ½ yard |
| 14 inches | ½ yard |
| 16 inches | ⅝ yard |
| 18 inches | ⅝ yard |
These estimates assume fabric around 45 inches wide and include basic cutting allowances. You may need extra material for pattern matching, directional prints, or decorative additions.
3. Pin The Right Sides Together
If you have a plain fabric, it’s fine. However, for patterned fabric, you must keep the side of the pattern on the inside (facing the cushion) so that when you turn it upside down after sewing, it looks perfectly harmonious with the sofa cover, etc. Right now, you should stack the two fabric pieces together and pin around the outer edge so that the fabric doesn’t shift.
4. Sew Around The Perimeter
You can use a sewing machine and thread to sew around the perimeter of the fabric (already pinned to avoid shifting). Don’t forget to leave a 4–6 inch gap to turn the right side out after sewing. While sewing the perimeter, you should preferably clip small triangular notches every few inches so that the curved edge of the cover lies flat and looks smooth.
Using a Zipper Instead of a Hand-Stitched Gap
If you prefer a removable cushion cover, a zipper is a useful option. Cut one of the circular fabric pieces into two sections and finish their straight edges. Place the zipper between these sections and stitch it into position before assembling the complete cover. Once the zipper panel is ready, attach it to the other circular piece around the perimeter.
A zipper makes washing and removing the cover easier, but it requires a little more sewing experience. The hand-stitched gap method is simpler and suitable for permanent covers, although removing the cushion pad later can be more difficult.
5. Turn, Stuff, & Close The Cover
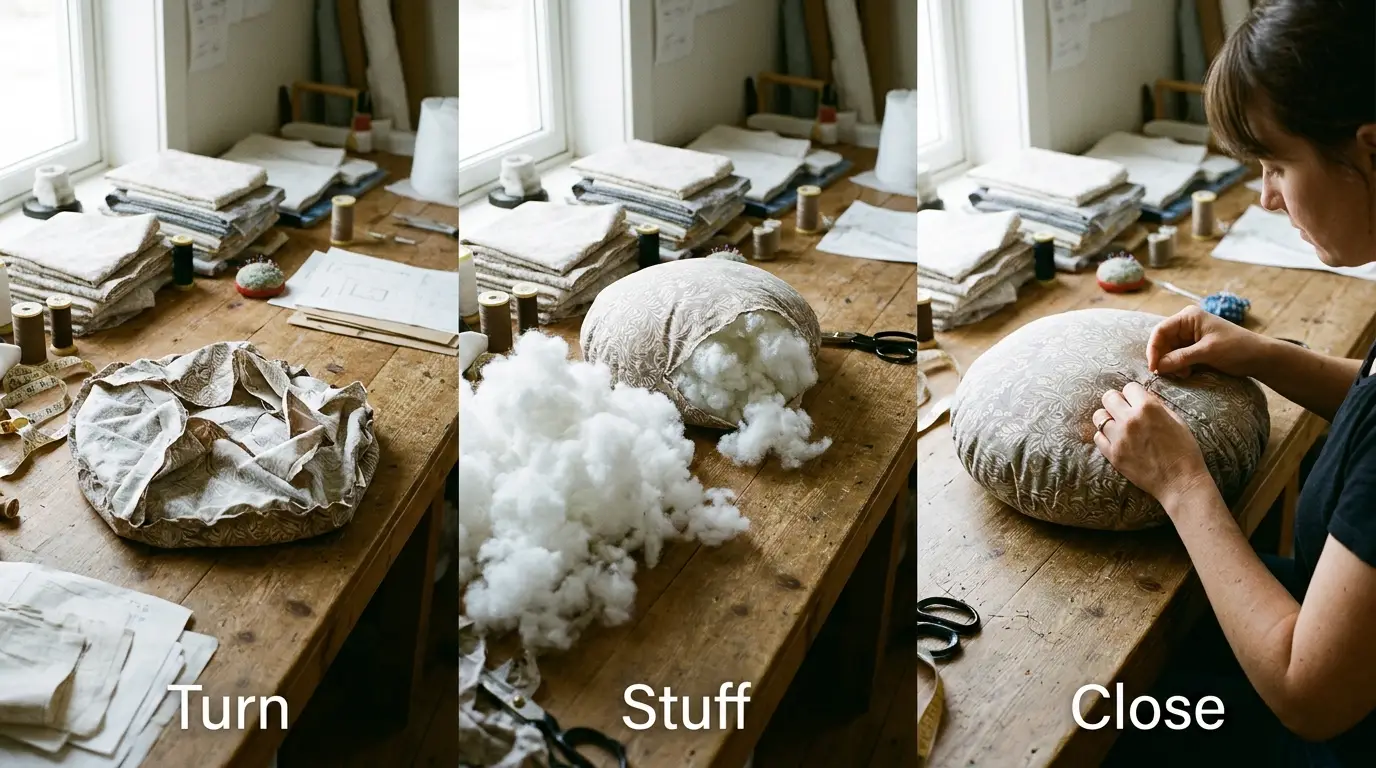
You can use a blunt tool or ruler to push the curved seams properly. Now, insert the round cushion pad inside the cover. It’s time to seal the gap you intentionally left using a neat ladder stitch by folding the raw edge of the opening about ⅜ inches and pressing it with an iron afterwards for neatness.
Optional Upgrades for a Better Finish
You can give your cushion cover a more attractive appearance with a few additional details:
Piping or Welting: Add decorative piping around the edges for a professional finish.
Ties or Ribbons: Attach fabric ties to keep the cushion secure on a chair.
Centre Button: Add a button for a classic tufted appearance.
Decorative Edges: Use ruffles or contrasting trim to create a different look.
Extra Padding: Add batting or foam if you want a fuller and softer cushion.
Common Mistakes and How to Fix Them
A few sewing mistakes can affect the final appearance of your cushion. Here are some simple solutions:
Puckered Seams: Avoid pulling the fabric while sewing and maintain an even seam allowance.
Loose or Tight Covers: Recheck the cushion measurements before cutting and adjust the finished cover size.
Lumpy Edges: Clip small notches around curved seams and press the edges properly.
Visible Opening: Use a neat ladder stitch or install a properly fitted zipper.
Shifting Fabric: Secure the layers with enough pins or fabric clips before sewing.
No-Sew Alternative for Beginners
If you do not have a sewing machine, you can still cover a round cushion. Fabric glue and iron-on hem tape can help secure the edges without stitching. Another option is to wrap the fabric around the cushion and secure it underneath with ties. However, these methods may not provide the same durability as a properly sewn cover, particularly for frequently used seating.
How to Clean and Maintain Your Round Cushion Cover
Always check the fabric care label before washing. Cotton and some linen-blend covers can usually be machine-washed on a gentle cycle, while delicate fabrics may require hand washing. Use cold or lukewarm water to reduce shrinkage and fading.
Iron the cover according to the fabric type and its recommended temperature. For example, cotton generally tolerates higher heat than velvet or delicate synthetic blends. Remove the cushion pad before washing and allow the cover to dry completely before reinserting it.
Styling Tips for Round Cushion Covers
Round cushions look attractive on stools, window seats, dining chairs, sofas, and floor seating arrangements. You can match their fabric with your existing sofa or dining set for a coordinated appearance. Mixing floral, geometric, and plain patterns can also add visual interest.
Another simple idea is to change cushion covers according to the season. Lighter linen and cotton fabrics work well in warmer months, while velvet and richer colours can create a cosy appearance during colder seasons.
Conclusion!
Covering a round cushion with fabric is an easy DIY-friendly task that requires some household items and attention to care. In today’s blog, we’ve provided a step-by-step guide on how to finish this simple task without any mistakes. Just follow the steps precisely and enjoy a fabric-covered round cushion for added beauty and protection.